?Are you ready to get the most out of your Eversolo mirrorless camera and learn practical techniques you can use right away?

Eversolo Mirrorless Camera Guide
This guide is built to help you understand, operate, and get creative with your Eversolo mirrorless camera, including the Eversolo DMP A8 model. You’ll find explanations of core concepts, practical settings, recommended accessories, troubleshooting steps, and workflow tips that will make your shooting sessions more productive and enjoyable.
What mirrorless cameras do differently
Mirrorless cameras remove the mirror box and optical viewfinder mechanism used by DSLRs, which usually makes them lighter, smaller, and faster in some functions. Because you compose using an electronic viewfinder (EVF) or the rear LCD, you see exposure, white balance, and other adjustments in real time.
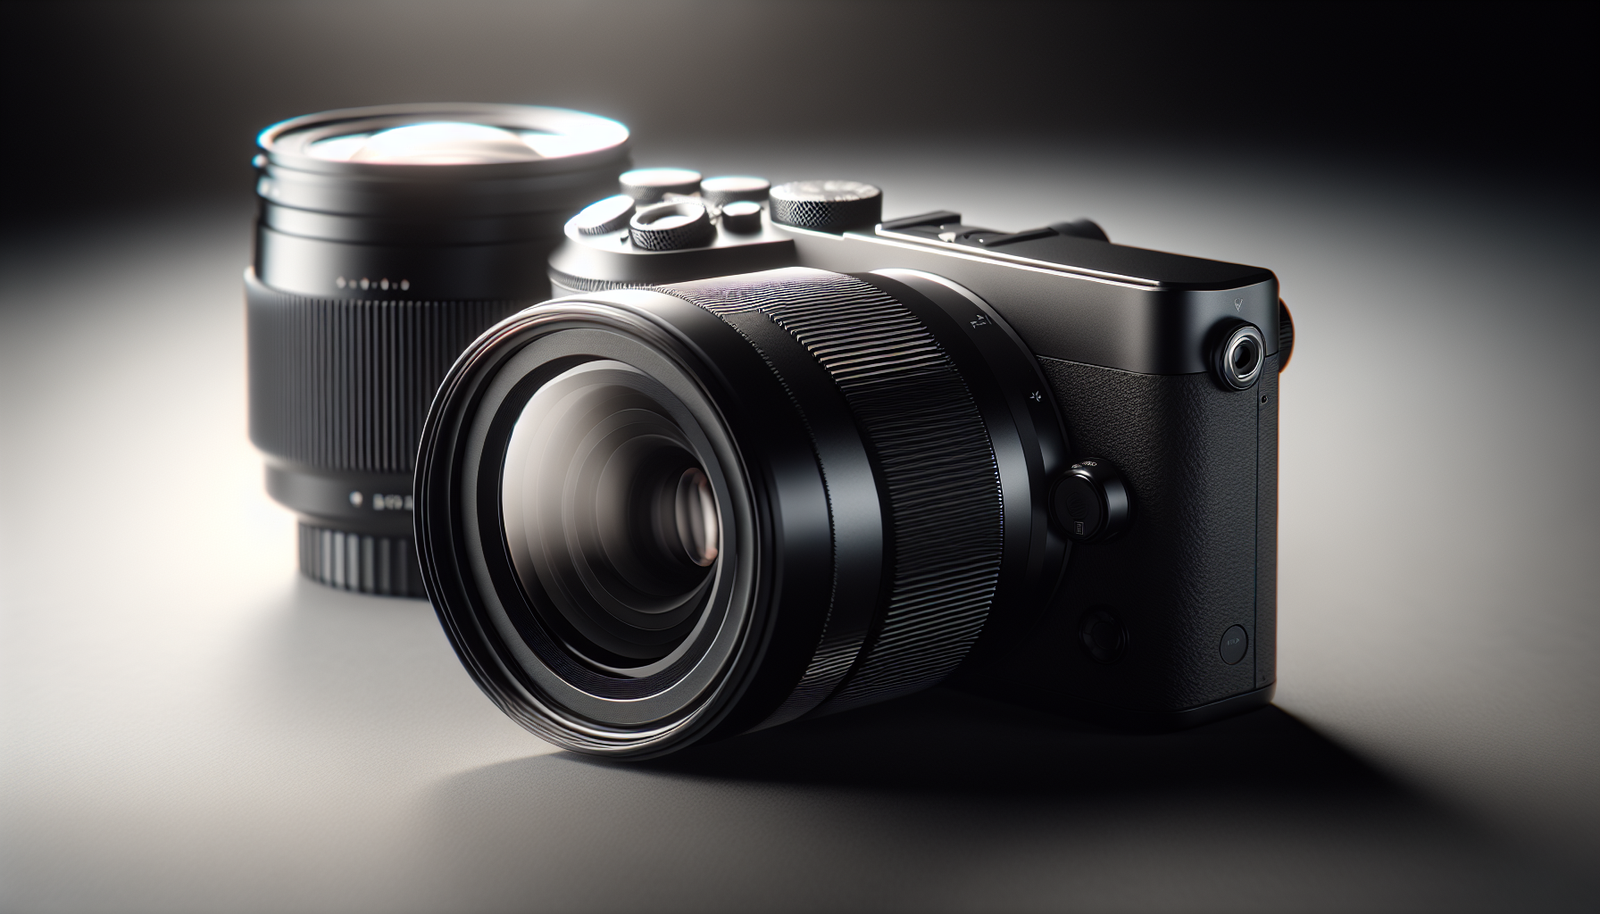
About the Eversolo DMP A8 (what to expect)
The Eversolo DMP A8 is positioned as an affordable, compact mirrorless option that balances portability with useful imaging features. Specifics such as sensor size, video capabilities, and autofocus performance vary by firmware and production run, so you should verify the exact specifications for your unit in the manual or on the manufacturer’s site.
Typical specifications table (use to check your unit)
Use this table to cross-check the specs of your Eversolo DMP A8 against what’s listed on the camera or box. Replace placeholders with the official numbers printed on your device documentation.
| Feature | Typical Range / Example |
|---|---|
| Sensor | APS-C or Micro Four Thirds (check label) |
| Resolution | 20–26 MP (varies by model) |
| ISO range | 100–25600 (expandable) |
| Video | 4K/30fps or 1080p/60fps (model-dependent) |
| Autofocus | Hybrid AF with contrast and phase detection points |
| Stabilization | In-body stabilization (IBIS) or lens-based OIS (varies) |
| Mount | Proprietary Eversolo mount or common third-party mount |
| Connectivity | Wi-Fi, Bluetooth, USB-C |
| Battery life | 300–600 shots (estimate based on usage) |
How to confirm exact specs for your camera
You should consult the printed manual, the serial number label on the camera, or the official Eversolo product page for precise specs. If your camera shipped with an app or quick start card, the model-specific details are often listed there as well.
Physical design and ergonomics
Mirrorless cameras like the DMP A8 usually emphasize compactness and clean lines, while still providing key controls for quick adjustments. Pay attention to the grip, button layout, and weight distribution so you can use the camera comfortably during long shoots.
Controls and dials — what you’ll use most
You’ll typically use shutter speed, aperture, ISO, exposure compensation, and autofocus mode dials or menu items frequently, so learn their positions and default behaviors. Many Eversolo models allow you to customize buttons and function dials; personalizing these will make your workflow faster.
Sensor and image quality fundamentals
Image quality depends primarily on sensor size, pixel density, and the lens you pair with the camera; larger sensors generally provide better low-light performance and shallower depth of field. You’ll get the best sharpness and dynamic range by using high-quality lenses and exposing carefully—RAW capture retains the most information for post-processing.
RAW vs JPEG — when to choose each
RAW files store unprocessed sensor data and give you maximum flexibility for color grading, exposure recovery, and noise control, while JPEGs are convenient for instant sharing and require less storage. If you plan to edit heavily or need the highest image quality, you should shoot RAW; use JPEG when speed or storage is the priority.
Lenses and mount compatibility
Identify whether your DMP A8 uses a proprietary Eversolo mount or an industry-standard mount; this determines the native lens options available to you. Adapters can broaden lens compatibility, but you should be aware of potential autofocus or stabilization limitations when using adapted glass.
Lens selection guide
Choose lenses based on the genres you shoot: wide-angle for landscapes, standard primes for general use and portraits, telephoto for wildlife or sports, and macro lenses for close-up work. Fast primes (f/1.4–f/2.8) give excellent low-light performance and attractive background separation, while zooms are more flexible for variable framing.
Autofocus systems and settings
Modern mirrorless autofocus systems combine phase-detection and contrast-detection methods; you’ll see modes such as single-point AF, zone AF, and face/eye detection. For still subjects, single-shot AF (AF-S) with single-point selection is precise; for moving subjects, continuous AF (AF-C) with tracking or wide-area modes is preferable.
How to improve autofocus performance
Keep your lens firmware up to date, use a fast memory card to reduce processing delays, and select an AF mode appropriate to subject motion and scene complexity. When necessary, use manual focus with focus peaking or magnification for critical focus tasks like macro or product photography.
Image stabilization: IBIS vs. OIS
In-body image stabilization (IBIS) stabilizes any lens mounted on the camera body, while optical stabilization (OIS) is lens-based and works only with stabilized lenses. If your DMP A8 includes IBIS, you’ll benefit from steadier handheld shots across a wider range of lenses; nevertheless, pairing IBIS with OIS-enabled lenses often produces the best results.
Video capabilities and workflow
Many mirrorless cameras can record high-resolution video with interchangeable lenses, giving you cinematic control and shallow depth of field. Pay attention to frame rates, bitrates, recording formats (e.g., H.264, H.265, ProRes), and any recording time limits—your workflow should include monitoring heat and battery during extended recording.
Recommended video settings for common use
For cinematic footage, choose 24 or 25 fps and a resolution of 4K if you need detailed results; 30 or 60 fps is useful for smoother action and slow-motion when needed. Record in a flat or log color profile if you plan to color grade; otherwise, use a standard profile for quick turnaround with minimal editing.
Connectivity and transferring images
Your Eversolo may include Wi-Fi, Bluetooth, and USB-C options for transferring images and remote control; each method offers different convenience and speed tradeoffs. Use USB-C for fast tethering and large file transfers; mobile apps are convenient for quick previews and social sharing.
Tethering and remote control tips
Tethering to a laptop or tablet helps you review images on a larger screen while shooting, which is invaluable for studio portraits and product work. Remote control via an app or wired connection can also reduce camera shake when doing long exposures or time-lapse sequences.
Battery management and power tips
You’ll get the best runtime by carrying spare batteries and switching off Wi-Fi and Bluetooth when not needed. For long shoots, consider a power bank that supports USB-C power delivery if your camera accepts external power.
Memory cards — speed and capacity
High-resolution stills and especially video benefit from UHS-II or V90 cards, which reduce dropped frames and buffer delays. Carry multiple cards and back up files as you go to avoid data loss.
Basic menu setup recommendations
Set your image quality to RAW+JPEG if you want both editing flexibility and immediate sharing options, and set your color space to Adobe RGB for more color latitude if you edit extensively. Configure key custom buttons and save preferred shooting profiles so you can switch quickly between photo and video setups.
Exposure triangle refresher (aperture, shutter, ISO)
Aperture controls depth of field, shutter speed freezes or blurs motion, and ISO adjusts sensor sensitivity and noise level; you balance the three to obtain a correct exposure. When you prioritize low noise, open the aperture and choose faster shutters or support the camera on a tripod where possible.
Recommended exposure settings by scenario
Adjust your settings based on subject and intent: portraits often favor wide apertures (f/1.8–f/2.8), landscapes work best with small apertures (f/8–f/16) for depth of field, and sports require fast shutter speeds (1/500s and up) to freeze action. Use Auto ISO with a maximum limit you’re comfortable with to let the camera handle exposure without excessive noise.
Shooting modes and presets
Use Aperture Priority (A/Av) when you want to control depth of field, Shutter Priority (S/Tv) to control motion, and Manual (M) when you want full control over the exposure triangle. Many cameras let you store custom modes—set one for low-light, one for studio, and one for handheld video so you can switch quickly.

White balance and color profiles
White balance affects the overall color temperature of a scene; you can use presets like Daylight, Cloudy, Tungsten, or set a custom Kelvin value to match lighting. For consistent color across a shoot, consider using a gray card and white balance off that reference, then apply precise corrections in post if needed.
Practical tips for portrait photography
Use a longer focal length (50–135mm equivalent) and a wide aperture to separate the subject from the background, and position the subject relative to light for flattering catchlights in the eyes. Watch your focus—eye-detection AF is helpful, but confirm with a slight focus-and-recompose or use single-point AF for precise control.
Practical tips for landscape photography
You should use a small aperture (f/8–f/16), lower ISO for best dynamic range, and a tripod to maximize sharpness; bracket exposures when scenes exceed dynamic range. Composition techniques—leading lines, foreground interest, and the rule of thirds—will significantly improve your results.
Practical tips for action and sports
Select continuous AF with a wide tracking area and use a shutter speed fast enough to freeze motion—typically 1/500s or faster depending on the subject. Use burst mode to capture sequences and pick the best frame; pre-focus at a predicted spot if the subject crosses a known zone.
Practical tips for low-light and night photography
Use the widest practical aperture, raise ISO within acceptable noise limits, and stabilize the camera with a tripod for long exposures when you want minimal noise. Enable noise reduction if you shoot JPEGs, but consider leaving it off for RAW so you can control noise reduction in post-processing.
Practical tips for macro and close-up work
Use a macro lens with a 1:1 or higher magnification ratio for life-size reproduction, and consider manual focus with focus stacking if you need deep field at close distances. You’ll often need a tripod and diffused light to avoid harsh shadows and ensure consistent focus across the subject.
Stabilization techniques for sharper handheld shots
Brace your body, use your breath to steady the shot, and tuck your elbows to your torso to reduce movement; pair that with image stabilization if available. Increase shutter speed when stabilization or support isn’t possible, and use peak stabilization modes for critical handheld shooting.
Firmware updates and why they matter
Manufacturers release firmware updates that can improve autofocus, add features, or fix bugs; checking for and installing updates can keep your gear performing optimally. Back up your settings and batteries before updating, and follow the official update instructions to avoid interruptions.
Common troubleshooting steps
If your camera freezes, perform a soft reset or remove/reinsert the battery; for autofocus issues, clean contacts and confirm lens compatibility. Always check the memory card health, firmware version, and that custom settings or exposure locks aren’t inadvertently active.
Cleaning and maintenance best practices
Use a blower to remove dust from sensors and lenses, a microfiber cloth for external glass, and sensor cleaning kits or professional service for stubborn debris. Store your camera in a dry, cool place with silica packets when not in use and avoid exposing it to extreme temperatures or moisture.
Recommended accessories table
This table summarizes accessories that will improve your experience and what each item is best for.
| Accessory | Purpose |
|---|---|
| Spare batteries | Extend shooting time during long sessions |
| Fast UHS-II / V90 cards | Reliable high-speed capture for photo and video |
| Sturdy tripod | Sharp landscapes, long exposures, and studio work |
| External microphone | Improve audio quality for video recordings |
| Neutral density (ND) filters | Control exposure for video and long-exposure photography |
| Protective camera bag | Transport and protect your gear |
| Remote shutter release | Eliminate camera shake for long exposures |
| Lens cleaning kit | Maintain image quality and prevent scratches |
| External monitor | Better framing and focus for video and tethered shoots |
Workflow: shooting, backing up, and editing
Your workflow should include shooting in RAW when possible, backing up files to at least two locations (memory card + external drive or cloud), and using a consistent editing workflow with cataloging software. Tagging images and keeping consistent naming conventions saves time when you return to a project later.
Post-processing tips for Eversolo images
Start with white balance and exposure adjustments, then address noise reduction and sharpening; apply lens corrections and crop last to preserve maximum detail. Use non-destructive edits in layers or adjustment modules to retain original RAW data for future re-edits.
How to get support and find firmware or manuals
Check the official Eversolo website or authorized retailer pages for manuals, firmware downloads, and support contacts; user forums and social media groups can also be sources of practical advice. If you purchased through a reseller, keep your receipt and register your product for warranty and support benefits.
Comparisons and when to choose Eversolo
Eversolo cameras often present a compelling price-to-feature ratio for beginners and enthusiasts who want mirrorless flexibility without premium-brand pricing. If you prioritize unique lens ecosystems, long-term serviceability, or access to a wide native lens library, compare Eversolo offerings side-by-side with competing brands before buying.
Frequently asked questions (concise answers)
- How do I check my lens compatibility? Consult the camera manual or product page, and test autofocus and aperture functionality after mounting.
- Will third-party lenses work? Many do with adapters; functionality depends on electronic contact compatibility.
- Is the Eversolo DMP A8 good for video? That depends on its specific video specs—check frame rates, bitrates, and heat management before long sessions.
Final tips to get the most from your camera
Practice regularly with intentional goals—focus on one technique (portraits, landscapes, or low light) for several sessions to build mastery, and keep experimenting with settings and lenses. Maintain your gear, back up your files, and use the camera’s custom settings to speed up your workflow so you can spend more time creating and less time managing gear.
Conclusion
You now have a structured roadmap for using an Eversolo mirrorless camera like the DMP A8, covering design, shooting techniques, video workflows, maintenance, and practical tips. Use this guide as a reference during shoots and refer to your camera’s official manual for model-specific operations and the latest firmware details.