Have you been looking for a reliable lavalier microphone to improve the quality of your interviews, videos, or live streams?
Eversolo lavalier microphone guide
This guide walks you through everything you need to know about the Eversolo A8 and lavalier microphones in general. You’ll learn how lavs work, how to set up and optimize the Eversolo A8 for different devices, and practical tips to get professional-sounding audio for your projects.
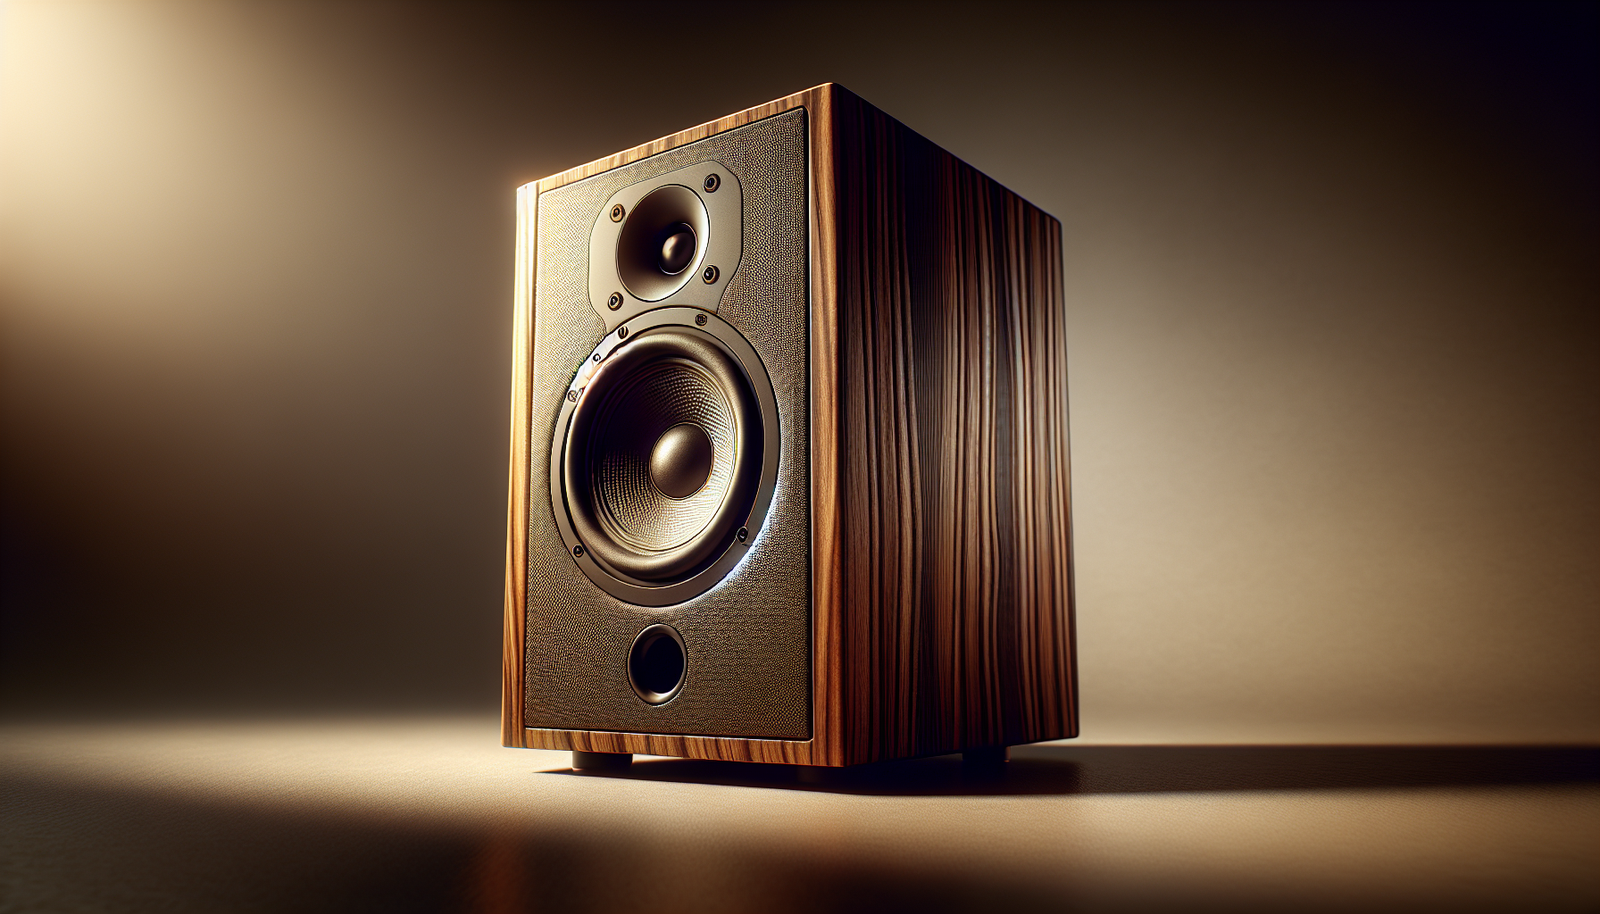
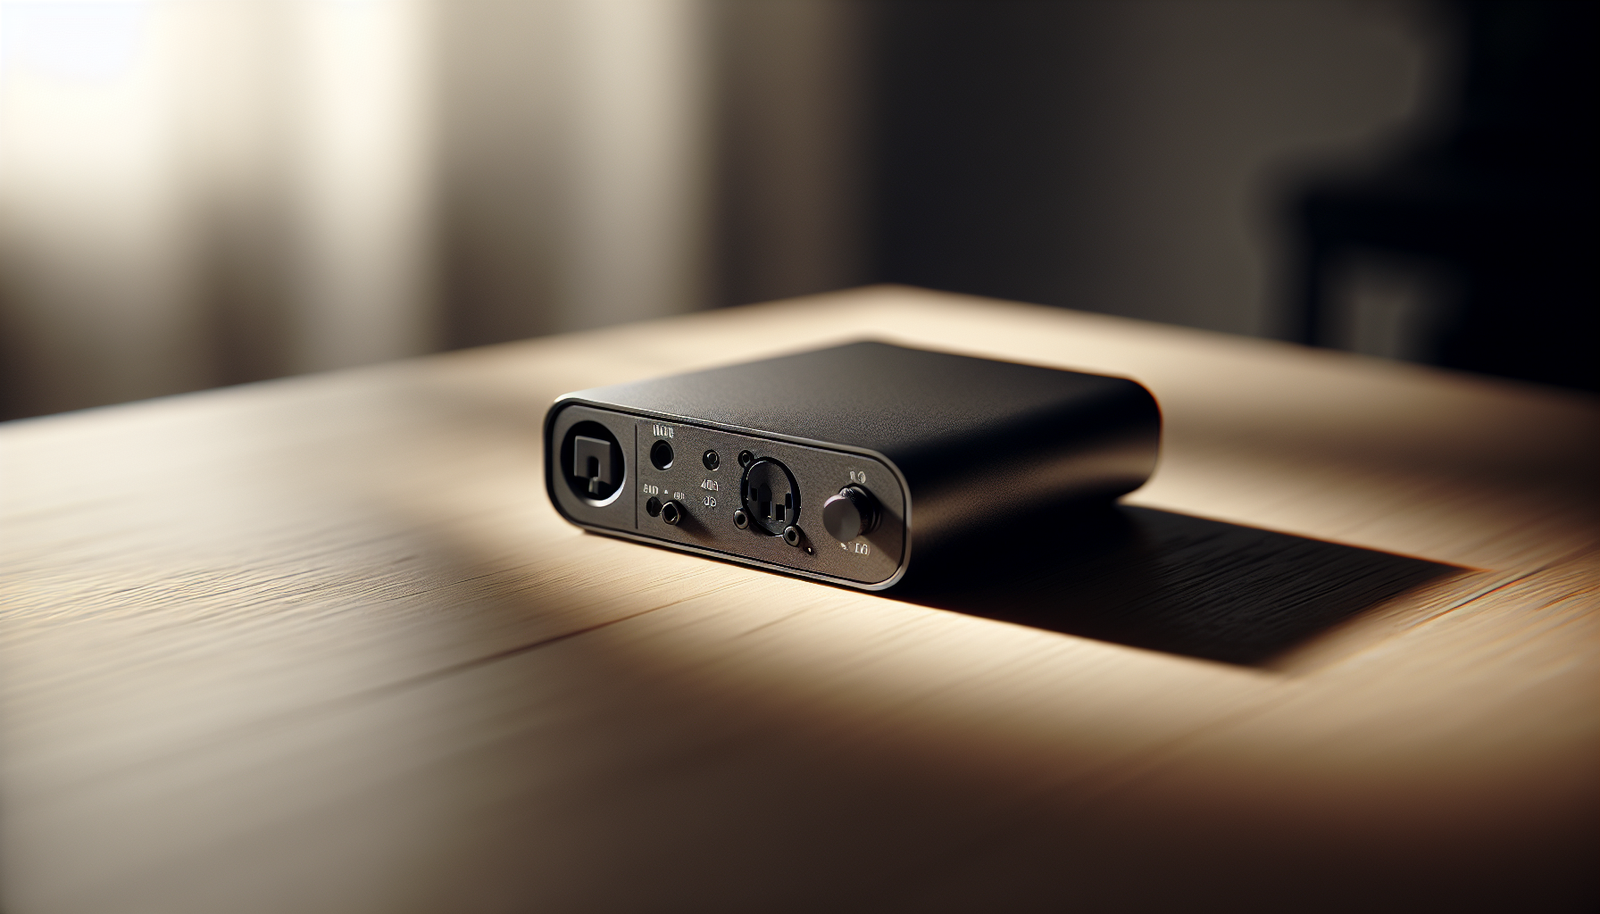
What is the Eversolo A8?
The Eversolo A8 is a compact, clip-on lavalier microphone designed for spoken-word applications like interviews, presentations, vlogs, and streaming. It’s built to be simple and portable so you can quickly mic a speaker and start recording with minimal fuss.
You can expect the A8 to be a plug-and-play solution that works well with smartphones, cameras, and external recorders when paired with the correct adapter. It aims to deliver clear voice capture with an unobtrusive form factor.
Design and build
The A8 typically features a small capsule attached to a thin cable and includes a clothing clip and foam windscreen. This straightforward physical design makes it easy to position the mic discreetly on clothing without drawing attention.
The cable length is long enough to allow freedom of movement in many common scenarios, and the clip is designed to hold securely while minimizing rustling and noise transfer from clothing.
Capsule and polar pattern
Most lavalier microphones like the A8 use an omnidirectional capsule, which picks up sound from all directions evenly. That pattern is ideal for speech because it makes placement less critical and captures consistent tonal character even when the speaker moves their head slightly.
The omnidirectional pattern also reduces handling noise sensitivity and provides a more natural ambient pickup, which can be beneficial in conversational settings or when you need some room presence.
Typical accessories included
Commonly included items with an A8-style lavalier are a clothing clip, foam windscreen, and possibly a small carry pouch. Some bundles include adapters (TRS/TRRS) to broaden compatibility with cameras and phones.
If adapters are not included, you may need to purchase a TRS or TRRS adapter depending on your recording device. Always check what’s in the box before planning your setup.
How lavalier microphones work
Lavalier microphones capture sound via a small diaphragm in a tiny capsule. The capsule converts pressure variations (sound) into electrical signals that your recorder or camera then digitizes and saves.
Because the capsule sits close to the voice, lavaliers capture direct sound with minimal room reverberation compared with distant mics. This proximity helps isolate the voice from background noise and improves intelligibility.
Connectivity and compatibility
Understanding the connectors and how they map to devices is essential so you can plug the A8 into your phone, camera, or recorder without issues.
Here’s a quick compatibility table to help you decide which cable or adapter you’ll need:
| Device type | Typical connector required | Common adapter or note |
|---|---|---|
| Smartphone (most Android) | 3.5mm TRRS | Many lavaliers come with TRRS; if not, use TRRS adapter |
| iPhone without headphone jack | Lightning-to-3.5mm adapter (TRRS) | Use Apple Lightning adapter that supports mic input |
| DSLR/Mirrorless camera | 3.5mm TRS | Use TRRS-to-TRS adapter if mic is TRRS |
| Portable audio recorder | 3.5mm TRS or XLR (with adapter) | Check recorder mic input type; TRS adapter often works |
| Computer (USB) | USB-A/C via interface or adapter | Use USB audio interface or USB mic adapter cable |
If your lavalier has a TRRS plug (four pins), it’s commonly meant for smartphones. Cameras typically require TRS (three pins). If you plug a TRRS mic into a TRS jack, the mic may not be recognized properly. Use the correct adapter or cable to ensure compatibility.
Which adapter to use and why
- TRRS to TRS adapter: Converts smartphone-style pinout to camera pinout so the camera receives the mic signal.
- TRS to TRRS adapter: Rarely needed, but useful if a device expects a phone-style plug.
- Lightning-to-3.5mm with mic support: Required for recent iPhones if you want to use the A8 directly with a phone.
- USB audio interface or grabber: Use this for computers to get consistent levels and monitoring options.
Always verify whether your adapter supports microphone input rather than only headphone output; many simple adapters are output-only.
Using the Eversolo A8 with smartphones
Mic’ing a smartphone is one of the most common use cases, especially for mobile reporters, YouTubers, and content creators. The A8 typically pairs easily with phones when you use the correct plug or adapter.
You should plug the lavalier into your phone, attach the clip to clothing near the speaker’s mouth, and then test levels using the phone’s recording app. Use a dedicated recording app that shows input levels if you want better control beyond the default voice memo apps.
iPhone setup tips
For iPhones without a headphone jack, use a high-quality Lightning-to-3.5mm adapter that explicitly supports microphone input. Plug in the A8, open your recording app, and perform a test to confirm the mic is active.
If levels seem low, verify that the phone isn’t set to record internal system audio; most phone apps will automatically pick the external mic. If you get warnings or the mic isn’t recognized, try a different adapter or a dedicated lavalier-to-Lightning cable.
Android setup tips
Many Android phones have a 3.5mm jack that supports TRRS. Plug the A8 in directly, then open your recording app and test. Android phones vary by manufacturer, so if you experience issues, check the device’s specifications to confirm CTIA wiring for TRRS.
If your Android phone uses a USB-C port and no jack, use a USB-C-to-3.5mm adapter that supports mic input, or use an external USB audio interface for more reliable performance.
Using the A8 with cameras and camcorders
When using the A8 with a camera, you often need a TRRS-to-TRS adapter to match the camera’s microphone input. The camera’s preamps and gain controls will then determine the recording level, so test and adjust accordingly.
Use a short adapter near the camera to minimize noise from movement, and place the lavalier on the talent approximately 6–8 inches below the chin for consistent pickup without being visible in the frame.
Syncing audio to video
If you record audio directly to the camera, you’re already in sync. If you record separately (e.g., on a smartphone or external recorder), use a clapper or a sharp visual cue to align audio during editing, or use automatic sync features in editing software that match waveforms.

Using with computers and USB interfaces
To record on a computer, you can use a USB audio interface that accepts a microphone input or a small TRRS-to-USB adapter that supports mic input. A proper interface gives you better preamps, gain control, and monitoring options.
When you plug into an interface, choose the input in your recording software, set the gain so your peaks hit around -6 dBFS, and enable direct monitoring if you need to hear yourself with zero latency.
Wireless transmitters and lavalier mics
If you need mobility without cables, connect the A8 to a wireless transmitter pack (bodypack). Many transmitters accept 3.5mm mic inputs; check impedance and power requirements. If the transmitter expects an electret lavalier (most do), the A8 will likely be compatible.
Testing is crucial because some wireless transmitters supply bias voltage to power electret capsules. Confirm the capsule type and the transmitter’s mic input wiring to prevent incompatibility or damage.
Placement and practical positioning
Placement is one of the most important factors for clear lavalier audio. You want to maximize voice pickup and minimize noise from clothing and movement.
Common placement strategies:
- Under the shirt near the sternum or collarbone for an invisible look and consistent tone.
- Outside the shirt near the collar or tie for a cleaner sound with less muffling.
- Clip onto lapel or edge of jacket for quick setups and balanced capture.
Avoid placing the mic directly against fabric that rubs or near jewelry that can clink. If you need to hide the mic, test for muffling and adjust placement slightly until the voice remains natural.
Hiding the mic without muffling
If you hide the mic under clothing, place it in a small pocket of fabric so it doesn’t press directly against the capsule. Using the included clip in a “bubble” of fabric rather than tight against the skin preserves clarity and prevents low-frequency buildup.
If the mic sits under a scarf or thick sweater, test for dullness and move it to the edge of the garment where the capsule still has an open path to the mouth.
Gain staging and levels
Getting the right input level will prevent clipping and reduce noise. Aim for speech peaks to reach roughly -6 dBFS on your recorder or interface meters. That leaves headroom for sudden loud words while keeping noise floor low.
If your device has limited gain control (like many phones), record a loud test phrase and adjust how close the mic is to the mouth rather than relying on gain. For cameras and interfaces, set input gain so normal speech peaks near -6 dBFS and check meters while the speaker uses natural volume.
Handling unwanted noise
Lavalier mics are sensitive to clothing rustle, handling noise, and wind. You can reduce these using a few simple techniques.
- Use the foam windscreen for light indoor air movement; add a furry wind muff outdoors if wind is significant.
- Pin the mic to a stable part of clothing and use tape or a second clip to isolate it from movement.
- Reorient the mic if you hear rubbing—sometimes a small twist or a different mounting point eliminates the problem.
Table: Common noise sources and quick fixes
| Noise source | Quick fix |
|---|---|
| Clothing rustle | Move mic to a less mobile spot; use fabric bubble; secure cable |
| Wind | Use foam and/or furry wind muff; position shielded by clothing |
| Handling/clip noise | Use small piece of tape around clip; add isolation mount |
| Low-frequency rumble | Apply high-pass filter in post (start at 80–120 Hz) |
| Electrical hum | Move away from power supplies; check cable shielding |

EQ and post-processing recommendations
A little processing can make lavalier audio sound much more professional. Start with subtle moves rather than heavy-handed effects.
- High-pass filter: Apply a gentle high-pass around 80–120 Hz to remove rumble and proximity boom.
- Low-mid cleanup: If the voice sounds boomy, gently reduce 200–400 Hz by 1–3 dB.
- Presence boost: Add a small boost around 3–6 kHz for clarity and intelligibility.
- Compression: Use light compression (e.g., 2–4:1 ratio) with medium attack and release to even out levels.
- De-essing: If sibilance becomes harsh, use a de-esser targeted at 5–8 kHz as needed.
These are starting points. Always use your ears and make minor adjustments to match the speaker’s voice and the recording environment.
Troubleshooting common problems
Here is a table of typical issues you might encounter and how to address them.
| Problem | Possible cause | Solution |
|---|---|---|
| No sound | Wrong plug wiring or bad connection | Check adapter, ensure fully seated plug, test on another device |
| Very low level | Device gain low or wrong adapter | Increase gain, use correct TRRS/TRS adapter, move mic closer |
| Distorted audio | Input clipping or overdrive | Reduce gain, increase distance from mouth, check levels |
| Hum or buzz | Electrical interference | Move away from power supplies, try different cable routing |
| Muffled sound | Mic under thick fabric | Reposition to edge of clothing or outside garment |
| Intermittent signal | Broken cable or loose connector | Inspect cable for damage, wiggle test, replace if faulty |
If persistent problems remain, test the A8 on a different device to determine if the issue is the mic or the recorder.
Comparison to popular lavaliers
Comparing the A8 to other well-known lavaliers helps you set expectations and decide if it fits your needs. The table below outlines general strengths and trade-offs versus common alternatives.
| Model family | Typical strengths | Typical trade-offs |
|---|---|---|
| Eversolo A8 | Affordable, compact, good for mobile setups | May lack premium build or advanced accessories |
| Rode SmartLav+ | Reliable mobile performance, consistent sound | More expensive; primarily smartphone-focused |
| Sennheiser ME 2-II | Broadcast-quality sound, rugged | Higher cost; sometimes needs specific transmitter compatibility |
| Boya BY-M1 | Very budget-friendly, long cable | Variable quality control; more handling noise |
Choose the A8 if you want a budget-friendly, straightforward lavalier that gets the job done for interviews and content creation. If you need broadcast-level ruggedness or advanced accessories, consider premium models.
Accessories and complementary gear
A few accessories elevate your setup from basic to professional. Consider the following:
- TRRS/TRS adapters and Lightning/USB-C adapters for compatibility.
- Mini wind muff (deadcat) for outdoor recordings.
- Lav mic extension cable when you need more distance between mic and recorder.
- Additional clips and adhesive mounts for flexible mounting options.
- Small pouch or case to protect the mic during transport.
These small investments can save time on set and reduce the need for fixes in post.
Maintenance and care
Proper care keeps your A8 working reliably for years. Store the mic in a padded pouch, avoid coiling the cable too tightly (use loose loops instead), and keep the capsule protected from moisture and extreme temperatures.
If you notice oxidation on connectors, clean them gently with contact cleaner and a soft cloth. Don’t submerge the mic or wash it—electret capsules are sensitive to moisture.
Use cases and real-world tips
You can use the A8 for a wide range of applications. Here are practical tips for common scenarios.
- Interviews: Place mic 6–8 inches below the chin or at lapel level for natural sound. Use two mics for dual-subject interviews and record a short levels test before the interview starts.
- Presentations and speeches: Clip the mic to a shirt collar or tie for consistent pickup as long as the speaker faces forward most of the time.
- Film and video: If possible, use lavalier as a backup to a boom mic. Match tone in post by EQing the lavalier to the boom reference.
- Live streaming and podcasting: Use a USB interface and enable direct monitoring to avoid latency. Keep an eye on levels and mute when not speaking to avoid noise.
Buying decisions: is the A8 right for you?
Consider the following questions to determine if the A8 fits your needs:
- Do you need a simple, affordable lavalier for interviews, vlogs, or presentations?
- Will you primarily record to smartphones or cameras that require adapters?
- Are you comfortable using modest post-processing to polish the audio?
If you answered yes to most of these, the A8 is likely a solid choice. If you need ultra-durable construction, broadcast-level quality, or specialized transmitter compatibility, a higher-end option might be more suitable.
Frequently asked questions
Q: Will the A8 work with my iPhone? A: Yes, but you’ll need a Lightning-to-3.5mm adapter that supports microphone input if your phone lacks a headphone jack. Confirm the adapter supports TRRS mic wiring.
Q: Do lavalier mics require batteries? A: Many lavaliers are electret condensers and don’t require batteries when used with devices that supply bias voltage (like phones). Some advanced lavs or systems might need conditional power—check the manual.
Q: Can I use the A8 outdoors? A: Yes, but add a windscreen or furry muff when wind is present. Shield the mic behind clothing if possible to reduce wind noise.
Q: How do I avoid clothing noise? A: Position the mic on a stable part of clothing, use a fabric bubble or tape to secure it, and avoid placing it where fabric rubs against the capsule.
Q: Is a lavalier better than a shotgun mic? A: They serve different purposes. Lavalier mics capture clean, close voice with mobility and concealment, while shotguns capture targeted sound from a distance. For dialogue, a lavalier is often more practical.
Final summary
You now have a thorough overview of the Eversolo A8 and the practical knowledge needed to get great results from a lavalier microphone. You’ll be able to choose the correct connectors, place the mic for optimal clarity, manage levels, and apply simple processing to improve voice quality. With a little practice and the right accessories, you can capture professional-sounding speech for interviews, videos, and live content.
If you want, tell me what gear you currently have (phone, camera, or recorder) and I’ll help you pick the exact adapters and settings to get started with the A8.