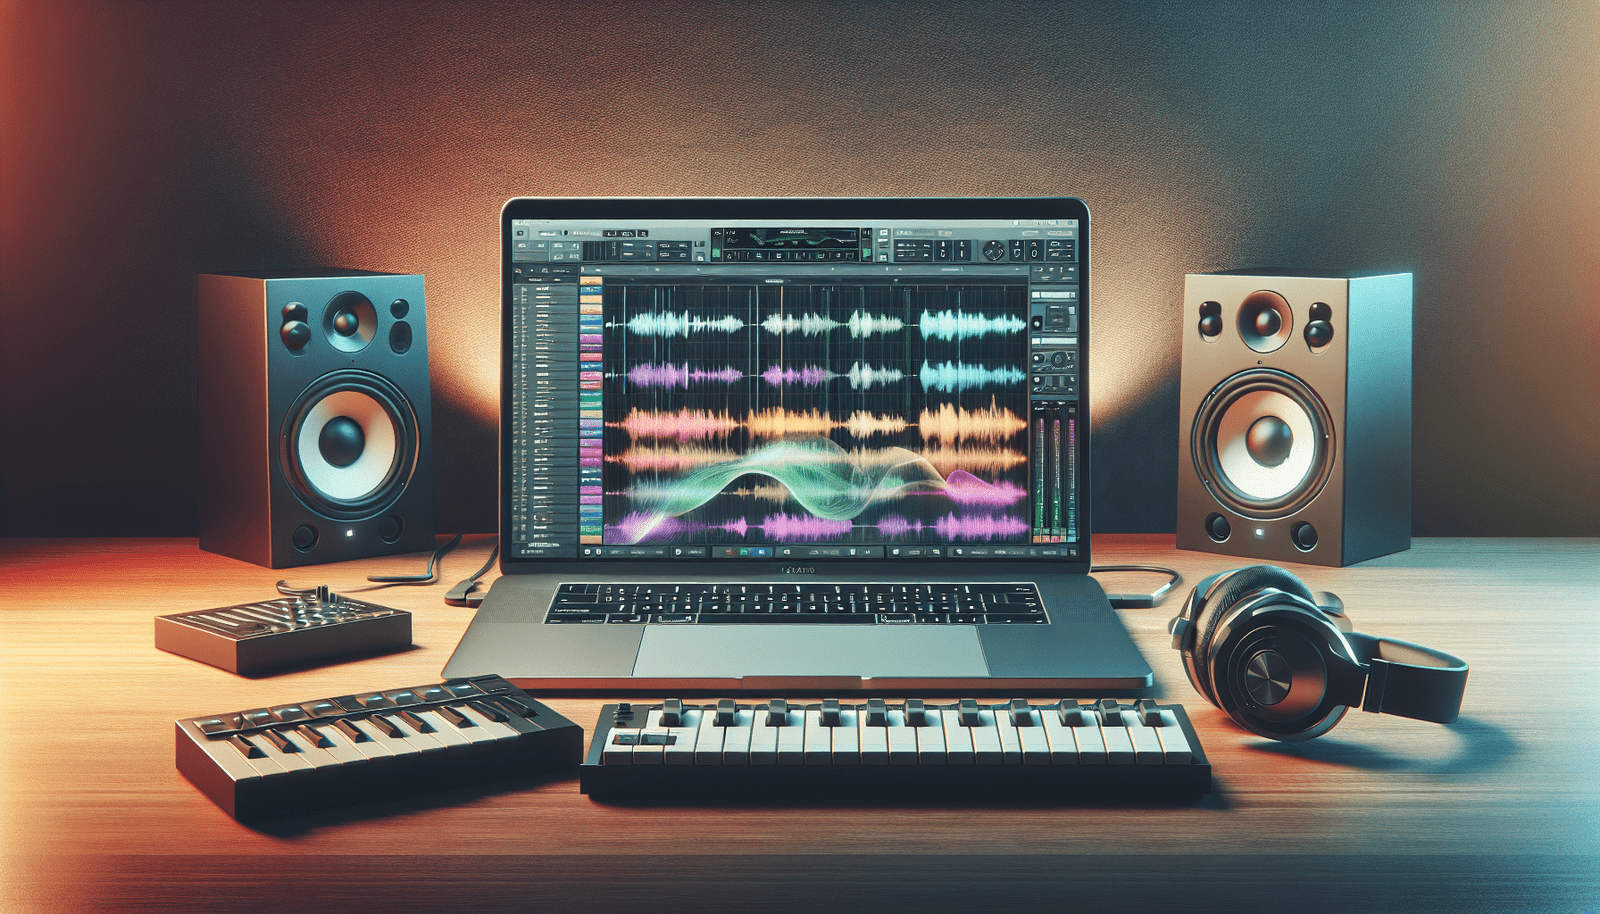
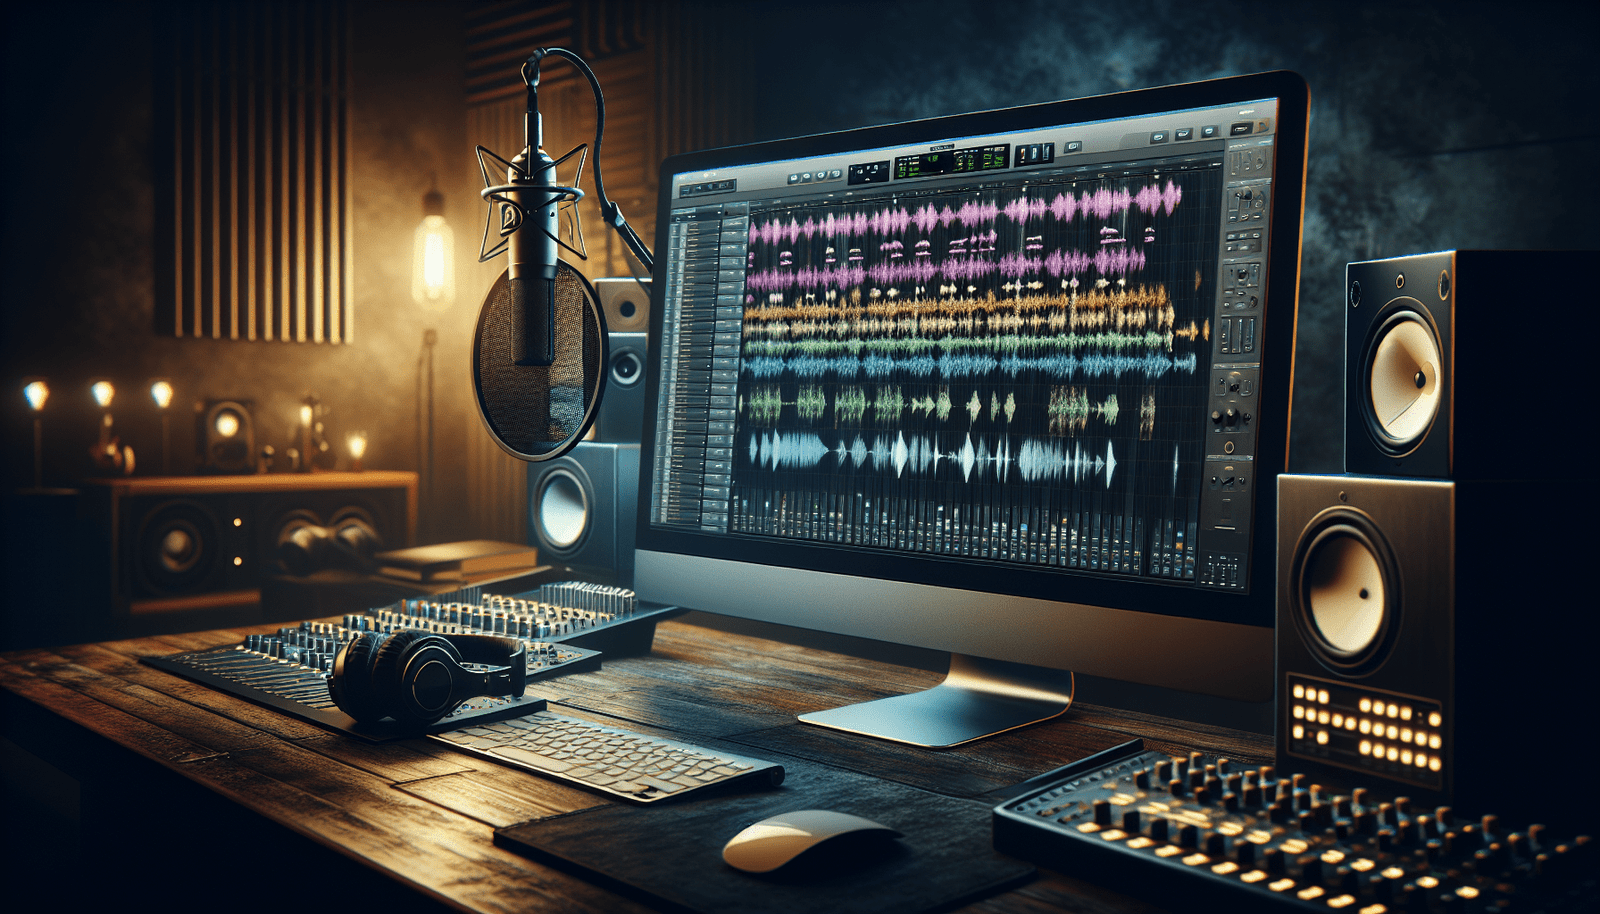
Have you ever wondered how to create stunning productions using FL Studio by Image-Line? This powerful digital audio workstation (DAW) offers a plethora of tools and features that can bring your creativity to life. Whether you’re a newbie or someone with a little experience under your belt, there’s always something new to learn about producing amazing music.
Getting Started with FL Studio
FL Studio is renowned for its user-friendly interface and versatile features. To kick things off, you’ll need to make sure that you’ve installed the latest version of the software. This ensures that you have the newest features and updates available to you.
System Requirements
Before jumping in, check your system meets the requirements. Here’s a brief breakdown:
| Component | Minimum Requirement | Recommended Requirement |
|---|---|---|
| OS | Windows 8.1/10/11 or macOS 10.13+ | Windows 10 |
| CPU | 2 GHz single-core processor | Multi-core processor |
| RAM | 4 GB | 8 GB or more |
| Hard Disk | 4 GB free space | SSD recommended |
Once your system is ready, proceed to install FL Studio by following the on-screen instructions provided during installation.
Understanding the Interface
FL Studio offers an intuitive interface that allows you to easily navigate between different functions and controls. Familiarizing yourself with this layout is crucial for efficient music production.
Main Sections of the Interface
- Channel Rack: Where you create and manage your sounds. Each sound can be its own channel, and you can control its volume, pitch, and effects here.
- Playlist: This is where you arrange your music. You can lay tracks down, adjust their length, and move them around to create your final output.
- Mixer: The mixer is your control center. Here you can adjust levels, add effects, and fine-tune your audio.
- Piano Roll: Use this to compose melodies and harmonies with ease. It’s a powerful tool for quantizing notes and creating intricate patterns.
Taking the time to understand these sections will significantly boost your efficiency and creativity while using the software.

Setting Up Your First Project
Once you’ve familiarized yourself with the interface, it’s time to set up your initial project. Start with a blank canvas to let your creativity flourish.
Creating a New Project
- Open FL Studio.
- Go to the “File” menu and select “New.”
- Choose the tempo (BPM) and time signature according to the style of music you wish to produce.
Feel free to experiment with different tempos to get a sense of what best fits your vision. The flexibility of FL Studio means that you can always adjust tempo later.
Using Samples and Plugins
FL Studio comes stocked with a variety of samples and plugins to enhance your music. Samples are essentially pre-recorded sounds, while plugins are software that generates sound or alters existing audio.
Finding Samples
- FL Studio Packs: The software includes various genre packs that are filled with loops and one-shots ready for use.
- Online Libraries: Numerous websites offer free or paid samples that can be used in your projects.
Working with Plugins
FL Studio supports VST and audio unit plugins. Here’s how to add plugins:
- Go to the “Channels” menu in your Channel Rack.
- Click on “Add one” to open the plugin picker.
- Browse through the installed plugins and select one you want to use.
Take your time to experiment with different plugins and sounds. Each can significantly alter the feel of your track, so feel free to mix and match until you find the right fit.

Composing Music in FL Studio
It’s time to start making music! Composing involves creating different musical parts like drums, bass, and melodies that all come together to form a complete song.
Starting with Drums
Drums form the backbone of many music genres. Here’s how to get started:
- Load a drum sample in the Channel Rack.
- Use the step sequencer to add beats. Each square represents a beat, and clicking it will lay down a sound for that specific rhythm.
Creating Bass Lines
- Choose a bass plugin or sample.
- Use the Piano Roll to draw in bass patterns. Focus on the root notes to complement the drums.
Melodies and Harmonies
To add melody:
- Select a synth or instrument in the Channel Rack.
- Open the Piano Roll and draw in your notes.
Experiment with different chords and progressions to find a sound that resonates with you. If you’re aiming for a unique vibe, don’t hesitate to break conventional patterns!
Arranging Your Track
With the fundamental elements in place, it’s time to arrange your track in the Playlist. This is where you’ll manipulate the structure of your song, deciding where each sound will occur.
Building Sections
Typically, a song consists of several sections like intro, verse, chorus, and outro. Here are some tips for arranging:
- Intro: Start with lighter sounds to set the mood.
- Verse: Introduce your main elements here, like the drums and bass.
- Chorus: Make this section stand out by layering sounds and increasing energy.
Adding Transitions
To keep your track engaging, consider using transitions between sections. This could involve:
- Fades
- Breakdowns
- Build-ups
Transitions create flow in your song and can surprise listeners, keeping them engaged.
Mixing Your Track
Mixing is where the magic happens, ensuring that every element in your production is balanced and sounds good together.
Levels and Panning
Begin by adjusting the volume levels of each channel. Here’s a simple process:
- Start with drums: They usually serve as the loudest element.
- Layer in bass, vocals, and instruments, lowering their levels accordingly.
Panning is also crucial for stereo width; spread out your instruments across the stereo field to create a sense of space.
Adding Effects
Adding effects can drastically alter the sound of your track. Common effects include:
- Reverb: Creates a sense of space.
- Delay: Adds echoes.
- Equalization (EQ): Allows you to boost or cut frequencies in your sounds.
Experimentation is key here. Try processing different sounds and see how they complement each other.
Mastering Your Track
Now that your track is mixed, the final touch before releasing it is mastering. This process ensures that your song sounds polished and ready for distribution.
What is Mastering?
Mastering involves preparing the final mix for playback across various systems—like radios, speakers, and headphones. It balances the track’s overall sound and maximizes loudness.
Mastering Techniques
- Limiters: Use a limiter to increase the overall volume of your track without causing distortion.
- Final EQ: Apply final EQ adjustments to polish the sound.
- Dynamics Control: Use compression to control the dynamics of your song.
Remember, mastering can be complex, so consider seeking out tutorials or even mastering services if it’s daunting.
Exporting Your Final Track
You’ve finally reached the finish line! Now it’s time to export your track for sharing with the world.
Export Settings
When you export your track:
- Go to “File”> “Export”> “WAV file” or “MP3 file.”
- Choose your settings carefully. A higher bitrate yields better quality but larger file sizes.
- Select where you save the file and make sure to label it properly for easy access later.
After exporting, listen to your track in various environments to make sure it sounds just as good out there as it does in FL Studio.
Collaborating with Others
Collaborating with other musicians can breathe fresh air into your productions. Many artists share their projects online, allowing for creative teamwork.
How to Collaborate
- Share Project Files: FL Studio allows you to save and share project files easily.
- Use Cloud Services: Platforms like Google Drive or Dropbox can be handy for file sharing.
- Feedback Sessions: Regular feedback between collaborators can enhance the overall quality of the production.
Collaboration can be an enriching experience, enabling you to learn from others and gain new perspectives.
Learning and Improvement
The world of music production is vast and ever-evolving. Here are some tips to keep growing as a producer:
Online Resources
Numerous online tutorials, forums, and communities exist where you can learn new skills and techniques. Websites like YouTube, Coursera, and specific FL Studio forums are great starting points.
Practice, Practice, Practice
The more you practice, the more comfortable you will become with FL Studio. Challenge yourself to create different genres or styles to strengthen your versatility.
Seek Constructive Criticism
Share your work with friends or in online communities to gain feedback. Constructive criticism can provide valuable insights into areas you may want to improve upon.
Final Thoughts
Creating stunning image line productions in FL Studio is an exciting journey filled with endless possibilities. By familiarizing yourself with the software’s interface, understanding its features, and constantly learning new techniques, you’ll be able to bring your musical vision to life.
Remember, music production is a gradual process. Allow yourself the freedom to create without fear of mistakes; each one is a stepping stone towards becoming a better creator. Happy producing!


