Want to get noticeably better sound from your home audio system without guessing or wasting money?
Complete Home Audio Setup Guide for Better Sound
Introduction
This guide walks you through everything you need to set up a home audio system that sounds great in your space. You’ll learn how to choose equipment, position speakers, treat your room, connect devices, calibrate sound, and troubleshoot common issues so you get reliable, consistent results.
Understanding the core components
Before you start moving gear around, you should know what each component does and why it matters. When you understand the role of each piece, you’ll make choices that improve sound rather than just increasing cost.
Key components and their purpose
You need to know which parts do the heavy lifting in your system: sources, amplification, speakers, and processing. Each plays a distinct role and tuning them together produces the sound you want.
| Component | What it does | What to watch for |
|---|---|---|
| Source (streamer, turntable, CD, TV) | Provides the audio signal | Quality of file/stream, outputs available (USB, optical, HDMI) |
| DAC (Digital-to-Analog Converter) | Converts digital signal to analog | Built-in vs external DACs — external often sounds better |
| Preamp / AVR | Manages inputs, volume, DSP, and switching | Features, room correction, connectivity |
| Power amplifier | Drives speakers with power | Power rating relative to speaker sensitivity |
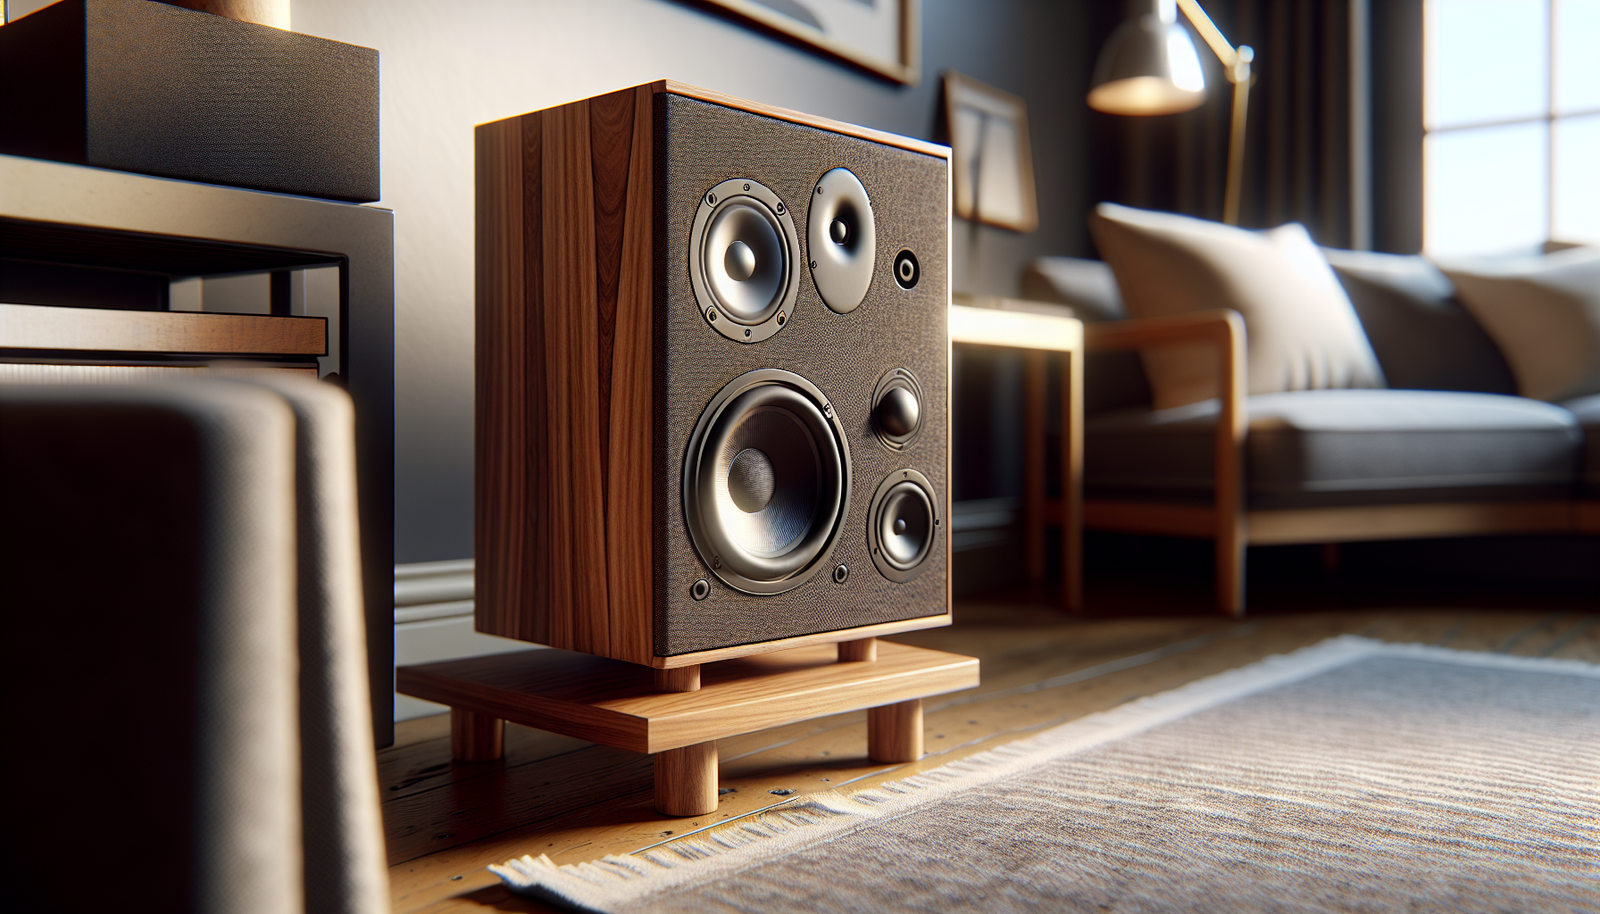
| Speakers (floorstanding, bookshelf, in-wall) | Produce the sound you hear | Efficiency/sensitivity, frequency response, placement needs |
| Subwoofer | Extends low frequencies | Placement, crossover, phase control |
| Cables & connectors | Carry signals cleanly | Correct type and gauge; keep lengths reasonable |
| Room treatment | Controls reflections and modes | Bass traps, absorbers, diffusers where needed |
Why source quality matters
Your system can only reproduce what you feed it, so better sources lead to clearer, more detailed sound. If you use low-bitrate streams or poor recordings, no amount of tuning will fully compensate.
Planning your system
You should define what you primarily listen to and how you use the room before buying gear. Your priorities—music vs movies, dedicated listening vs living room multi-use—should shape equipment choices and placement.
Establish usage and goals
Decide if your main goal is music fidelity, home theater immersion, or a mix of both. That informs whether you prioritize stereo fidelity, surround capabilities, or convenience features like voice assistants.
Measure and map your room
Take basic measurements: room dimensions, floor type, seating locations, and potential speaker spots. A simple sketch with distances will save you time and help with speaker placement and acoustic treatment planning.
Choosing speakers
Speakers are the single most important component for sound quality, so you should pick them carefully based on room size and listening goals. Comfort with aesthetics and placement flexibility also matters because you’ll live with them visually as well as sonically.
Bookshelf vs floorstanding vs in-wall vs soundbar
Each speaker form factor has advantages and trade-offs. Understanding those will help you match speaker type to room and budget.
| Type | Pros | Cons |
|---|---|---|
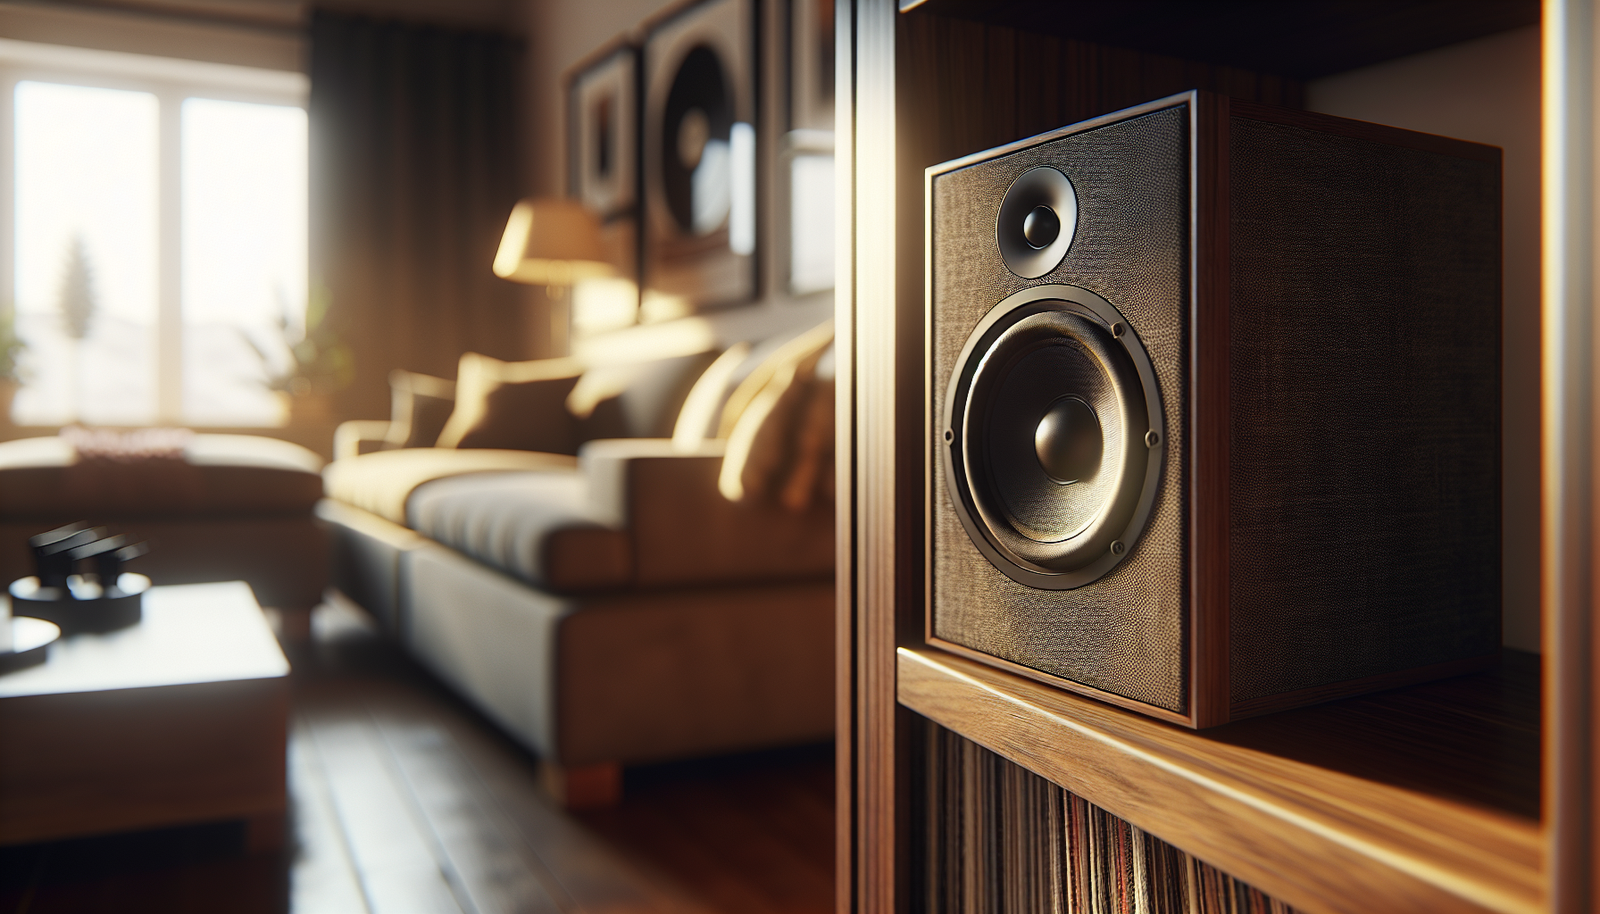
| Bookshelf | Compact, versatile, typically good midrange | Needs stands, less bass extension |
| Floorstanding | Strong low end, fuller sound at volume | Larger footprint, more expensive |
| In-wall/Ceiling | Clean look, space-saving | Requires installation and acoustic planning |
| Soundbar | Simple, compact, integrates with TV | Limited soundstage vs component systems |
Speaker specifications to consider
Pay attention to sensitivity (dB SPL at 1W/1m), impedance (ohms), and frequency response. You’ll want speakers with suitable sensitivity for your amplifier’s power and room size.
Receiver vs separate components
You’ll decide between an all-in-one AVR for convenience and separates (preamp + power amp + external DAC) for higher fidelity. Both approaches can yield excellent results; your budget and space determine the best path.
When to choose an AVR
Choose an AVR if you want a simplified setup for home theater, integrated room correction, and many inputs like HDMI. They’re great for movie-centric setups and modern connectivity.
When to choose separates
Choose separates when you want the best possible stereo quality or plan incremental upgrades. Separates often offer superior component quality, easy upgrades, and better noise performance.
Matching speakers and amplifier
You should match speaker sensitivity and impedance to amplifier power to avoid poor dynamics or risk of damage. Proper matching ensures clean, distortion-free playback at realistic volumes.
Power, sensitivity, and headroom
Speakers with lower sensitivity need more amplifier power to reach the same loudness. If your room is large or you enjoy louder listening, choose higher power or more sensitive speakers. Give yourself headroom to avoid clipping, which damages speakers and amplifiers.
Impedance considerations
Many modern amps handle 6–8 ohm loads well, but check manufacturer specs if you plan to use low-impedance speakers (4 ohm or less). An underpowered amp working into a low impedance speaker will heat and may distort.
Room acoustics basics
Your room has as much influence on sound as your gear, so you should address reflections, standing waves, and bass behavior. Simple acoustic fixes often yield bigger improvements than expensive gear swaps.
Reflections, absorption, and diffusion
Hard surfaces like windows and bare walls create early reflections that smear imaging. Use absorbers and diffusers to tame reflections, and keep a balance so the room doesn’t sound dead.
Bass modes and treatment
Low-frequency room modes depend on room dimensions and can create peaks and nulls. Bass traps in corners and careful subwoofer placement greatly reduce uneven bass response.
Measuring room acoustics
You can use free tools like REW (Room EQ Wizard) and a measurement microphone to see frequency response and decay times. Measurements help you make targeted fixes instead of guesswork.
Speaker placement for best imaging and balance
Your speaker placement determines stereo imaging, center clarity, and low-frequency balance. You should spend time adjusting and listening rather than assuming factory positions are ideal.
Stereo speaker placement
Aim for an equilateral triangle between you and the two main speakers when possible. Toe-in speakers slightly to focus the soundstage and adjust the distance from walls to control bass reinforcement.
| Element | Recommended setup |
|---|---|
| Distance between mains | 0.8–1.2x listening distance |
| Listener distance | 1.0–1.5x speaker separation |
| Toe-in angle | Slight toe-in to focus imaging |
| Distance from front wall | 0.5–1.0 m for bookshelf; 1.0+ m helpful for floorstanders |
Center channel placement
Place the center channel at ear height and directly above or below the TV. The center carries dialogue, so alignment and matching timbre with mains are critical.
Surround speaker placement
Place surrounds slightly above ear level and to the sides or behind listening positions. Diffuse reflections help create immersive ambience without pinpoint localization.
Subwoofer setup and integration
A subwoofer adds impactful low frequencies, but you should integrate it carefully to avoid boomy or disconnected bass. Proper crossover, phase, and level adjustment make the sub feel like part of the main system.
Choosing subwoofer quantity and type
One subwoofer can improve low-frequency performance, but multiple subs even out room modes and give smoother bass across the listening area. Consider room size and budget when choosing one or two subs.
Crossover frequency and phase
Set the crossover where your main speakers roll off—usually 60–120 Hz depending on speaker size. Adjust the subwoofer phase so the sub and mains sum smoothly at crossover, using your ear, SPL meter, or room correction.
Subwoofer placement tips
Start with the sub near the front wall and experiment with corner placement; corners boost output but can cause boominess. Use the subwoofer crawl method—place sub at listening position, walk around to find a spot with balanced bass, then place the sub there.
Cables, connectors, and wiring best practices
Good cables and connectors ensure reliable signal transfer, but you don’t need exotic products. Focus on correct types, solid terminations, and appropriate gauge for speaker runs.
Speaker wire gauge and length
Use thicker wire (lower gauge number) for longer runs and for higher power. The table below helps you pick the right gauge based on length.
| Distance (round trip) | Recommended gauge |
|---|---|
| Up to 25 ft (7.5 m) | 16–14 AWG |
| 25–50 ft (7.5–15 m) | 14 AWG |
| Over 50 ft (15 m) | 12 AWG or thicker |
Digital and analog connections
Use HDMI for modern home theater and high-resolution multichannel sources. For stereo, balanced XLR offers lower noise over long runs, while RCA is fine for short distances. For digital, prioritize clean connections and avoid conversion chains that can introduce jitter.
Connector types and tips
Banana plugs, spade lugs, or bare wire each work; pick one and terminate consistently. Make sure connections are tight and avoid frayed strands that short between terminals.
Calibration and digital signal processing (DSP)
Calibration helps your system compensate for room anomalies and speaker differences so sound is smoother and more accurate. You should use automatic room correction as a starting point and tweak by ear.
Room correction solutions
Systems like Audyssey, Dirac Live, and manual EQ via REW provide different levels of control. Audyssey is easy and effective; Dirac typically produces a more refined result but often costs more.
Manual tuning with measurement
If you measure with REW, you can identify peaks and dips and apply corrective EQ. Target a smooth curve rather than over-equalizing; big narrow boosts or cuts can make problems worse.
Loudness and tone controls
Disable loudness and other tone-shaping features for reference listening, then reintroduce mild compensation if you prefer a certain tonal coloration at low volumes. Keep changes subtle to avoid unintended artifacts.
Sources, streaming, and formats
Your listening files and streaming quality matter. You should use the best source practical—lossless files or high-bitrate streams make the most of a good system.
Streaming protocols and quality
AirPlay, Chromecast, and proprietary systems each have strengths. For best fidelity, prioritize lossless streaming (e.g., TIDAL HiFi, Qobuz) or local FLAC/ALAC playback from a NAS.
Bluetooth and wireless limitations
Bluetooth is convenient but compressed unless you use codecs like aptX HD or LDAC on supported devices. Use Bluetooth for casual listening and wired or high-quality streaming for critical listening.
File formats and sample rates
Lossless (FLAC, ALAC) preserves original audio data; high-resolution files can offer extra detail but require good DACs. For most listeners, 16-bit/44.1 kHz or better is sufficient.
Turntables and analog sources
Vinyl adds warmth and character, but you should handle setup carefully to avoid issues. Proper cartridge alignment, tracking force, and grounding are critical.
Phono preamp and grounding
Ensure you have a quality phono preamp (external or built into your amp) with correct gain for your cartridge (MM vs MC). Always ground the turntable to the preamp to eliminate hum.
Cartridge setup and maintenance
Align the cartridge using a protractor, set tracking force per manufacturer specs, and check anti-skate. Replace styli periodically to avoid record wear and degraded sound.
Home theater specifics
If you watch movies often, you’ll prioritize surround formats and dialogue clarity. Proper calibration and speaker matching ensure cinematic immersion without sacrificing musicality.
Speaker formats and placement
For 5.1 use front left/right/center and two surrounds; for 7.1 add two rear surrounds. For Dolby Atmos, add height speakers or upward-firing modules to reproduce overhead effects.
Dialogue clarity and center match
Match the center speaker tonally to your front mains to keep voices consistent. Calibrate levels and use a dedicated center speaker designed to handle midrange and vocal frequencies.
Multi-room and wireless ecosystems
If you want audio in multiple rooms, choose an ecosystem that supports synchronization and good compression behavior. You should plan network bandwidth and latency to avoid dropouts.
Choosing a multi-room platform
Platforms like Sonos, HEOS, and Chromecast Audio have different approaches to codec support, latency, and interoperability. Pick one that fits your devices and priorities.
Wired vs wireless preference
Where possible, use wired Ethernet over Wi-Fi for streaming devices to reduce dropouts and latency. If you must use Wi-Fi, ensure a robust mesh or strong router coverage.
Power, grounding, and electrical safety
Clean, stable power benefits audio equipment and protects it from surges. You should use quality surge protection and consider dedicated circuits for high-power systems.
Surge protectors vs power conditioners
A good surge protector is essential; a power conditioner can reduce noise but is not a magic fix. For serious systems, a balanced power supply or dedicated circuit can reduce hum and interference.
Fixing hum and ground loops
If you hear a 50/60 Hz hum, identify whether it’s ground loop or RF interference. Ground loop isolators, proper grounding of turntables, and separating power and signal cables often fix hum issues.
Listening and tuning by ear
Measurements guide you, but your ears are the final judge. You should perform guided listening tests and make adjustments based on real-world content you know well.
Conducting listening tests
Use familiar tracks across genres and pay attention to imaging, tonal balance, and bass quality. Make small adjustments, then listen again to avoid over-tweaking.
Burn-in and acclimation
New speakers may change slightly over their first tens to hundreds of hours. You don’t need long “burn-in” rituals, but allow speakers to settle before making major assessments.
Troubleshooting common issues
When something sounds off, you’ll want systematic checks to find and fix the problem quickly. Follow stepwise diagnostics to isolate the issue to source, processing, amplification, or speakers.
No sound or channel dropout
Check source selection, mute states, and connections first. Swap cables and inputs to see if a specific port or cable is causing the issue.
Distortion, clipping, or crackling
Lower volume and check source files for clipping. Try a different source and amplifier to isolate whether the problem is the speaker, cable, or amp.
Hum, buzz, or interference
Unplug components one at a time to find the hum source. Ensure turntables are grounded and keep power cables away from interconnects to reduce noise pickup.
Upgrading roadmap: where to spend first
If you have a limited budget, invest in the elements that yield the biggest improvements per dollar. You should prioritize speakers and room treatment before cables or cosmetics.
Recommended upgrade order
- Speakers (or subwoofer) — biggest impact on clarity and dynamics.
- Room treatment — especially bass traps and first reflection control.
- Amplifier or AVR upgrade if you lack power or features.
- DAC or source improvements for higher resolution playback.
- Cables and accessories last, focusing on correct gauge and reliable connectors.
| Budget level | Best first upgrade | Secondary upgrade |
|---|---|---|
| <$500< />d> | Quality bookshelf speakers or used floorstanders | Speaker stands / basic room treatment |
| $500–$1500 | Better speakers / subwoofer combo | Entry-level AVR or integrated amp with good DAC |
| $1500–$5000 | High-quality floorstanders and room treatment | Separate preamp/amp or Dirac-equipped AVR |
| $5000+ | Full separates, acoustical treatment, calibrated setup | Multi-subwoofer integration / high-end DAC |
Final setup checklist
You should follow an ordered checklist to complete your setup without missing critical steps. A consistent approach saves time and prevents avoidable issues.
- Map room and measure listening position distances.
- Place speakers according to recommended geometry and secure stands.
- Connect source, DAC, preamp/AVR, and amplifier with correct cables.
- Wire speakers with appropriate gauge and solid terminations.
- Position and connect the subwoofer; set initial crossover and level.
- Run automatic room correction or measure with REW and apply EQ.
- Adjust toe-in, distance, and sub phase by listening to test tracks.
- Re-check levels with SPL meter or AVR test tone for balanced loudness.
- Test with a range of content and make small tweaks for preference.
- Label cables and create a simple diagram for future reference.
Closing tips and best practices
Great sound isn’t only about gear; it’s about how you tailor that gear to your room and tastes. Take your time, measure where possible, and trust both your ears and objective data to make balanced decisions.
You should always try incremental changes and listen carefully after each step. With the right planning, measured adjustments, and a few acoustic fixes, you’ll get far better sound than chasing expensive gadgets alone.


